How to Clean Blinds in the Tub: Keep Your Window Look Fresh

Blinds often collect dust, grease, and stains, making them look dull and unhealthy. Many people ask how to clean blinds in the tub safely and effectively. The short answer is yes you can clean them in the bathtub with water and mild soap. This method works for different types like vinyl, plastic, aluminum, mini, or faux wood blinds. It helps remove deep dirt that dusting can’t reach. Below, we explain the full process, common mistakes, and expert tips from CV Floors & Blinds so your blinds look fresh again.

Why Keeping Window Blinds Clean Matters

Window blinds not only control light but also affect the look and feel of your home. Over time, dust and dirt gather on slats, making blinds appear worn and unattractive. If left uncleaned, the buildup can also cause breathing problems for people with allergies. Clean blinds improve air quality, brighten rooms, and extend the life of your window coverings. Regular cleaning keeps blinds from turning yellow or sticky, especially in kitchens where grease collects. This simple step protects your investment while keeping your living spaces fresh and inviting.

Common Struggles with Cleaning Blinds at Home

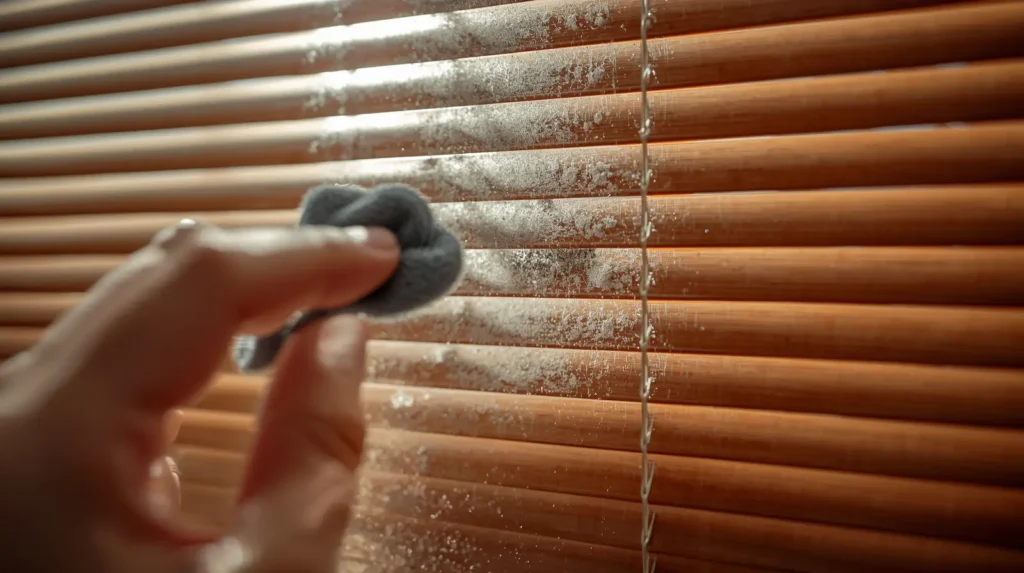
Cleaning blinds isn’t always easy. Many people struggle with sticky residue, dust that clings, or stains that don’t wipe away. Mini blinds, venetian blinds, and faux wood blinds are especially tricky because of the number of slats. Using just a cloth often moves dirt around instead of removing it. Some try vacuuming but still see streaks. Others worry about damaging cords or bending thin aluminum slats. These challenges make people wonder if there’s a better way. That’s why soaking blinds in tub water is one of the most effective and simple methods.

Can You Really Wash Blinds in the Bathtub?

Yes, you can. Washing blinds in the bathtub is safe and works for most types, including vinyl, aluminum, plastic, faux wood, and mini blinds. A deep soak loosens dirt and removes stubborn grease without much effort. However, it’s important to check the material first. Real wood blinds should never be submerged, as water can warp or crack them. Instead, stick to wiping them with a damp cloth. For all other types, soaking blinds in tub water with mild soap is not only possible but also one of the best cleaning methods available.

Preparing Blinds Before Soaking in the Tub

Preparation is key before cleaning window blinds in the bathtub. First, dust the blinds with a soft brush or vacuum attachment to remove loose dirt. Next, carefully remove the blinds from the window. For venetian or mini blinds, release them from the brackets by gently pressing the clips. Lay them flat to prevent bending. Check the cords for any damage before washing. Then fill your tub halfway with warm water. Add a small amount of mild dish soap or baking soda. This step ensures your blinds will soak evenly and come out spotless.

Step-by-Step Guide on How to Clean Blinds in the Tub

Here’s a clear process to follow:

  1. Fill the tub: Use warm water, not hot, to avoid damaging blinds.
  2. Add cleaner: A few drops of mild soap or a spoon of baking soda works best.
  3. Soak blinds: Place blinds in the bathtub and let them sit for about 20–30 minutes.
  4. Gently scrub: Use a soft sponge or cloth to clean each slat, focusing on stains.
  5. Rinse well: Drain the dirty water and rinse blinds with fresh water.
  6. Dry fully: Lay blinds on towels or hang them outside until completely dry.

Following this method makes it easy to understand how to clean blinds in the tub without damage.

Cleaning Vinyl, Plastic, and Aluminum Blinds in Bathtub

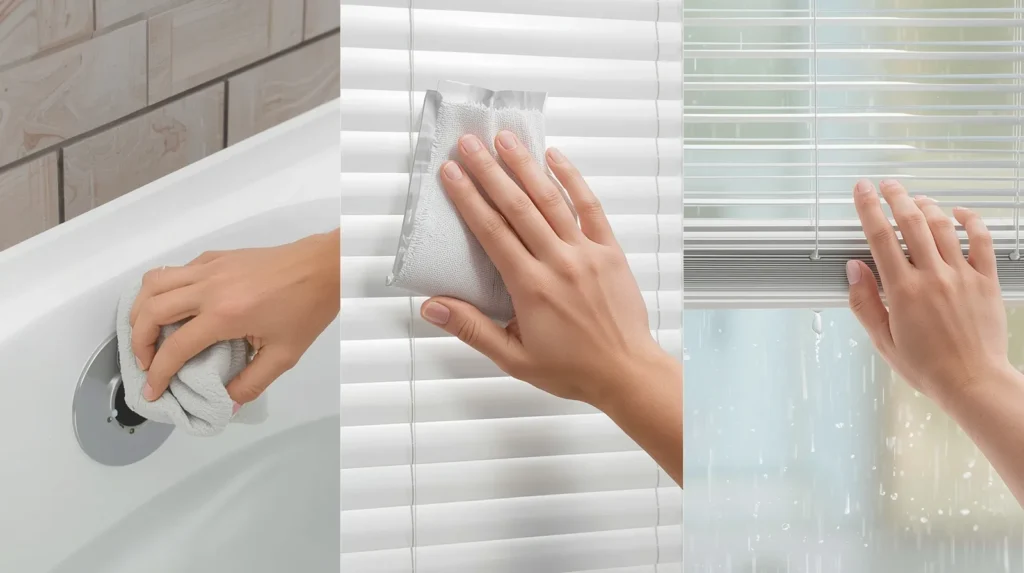
Each material needs special care. Vinyl blinds are durable and soak well in the tub. Plastic blinds can also be washed, but avoid harsh scrubbing to prevent scratches. Aluminum blinds are lightweight and may bend if handled roughly, so use a soft sponge and rinse gently. For all three, soaking blinds in tub water helps lift dirt quickly. After rinsing, make sure blinds are dried properly to stop water spots. Cleaning vinyl blinds in bathtub water is often the easiest, while aluminum blinds need a little more patience.

How to Clean Mini Blinds in the Bathtub

Mini blinds collect dust faster than larger blinds because of their narrow slats. To clean mini blinds in the bathtub, first remove them from the brackets. Lay them flat in warm, soapy water. Use a soft brush or sponge to gently scrub each slat. Pay extra attention to cords since grime often builds up there. Rinse thoroughly with clean water and shake off excess moisture. Dry by laying the blinds flat on towels or hanging them in an airy spot. Following these steps makes cleaning mini blinds in bathtub water simple and effective.

Tips for Washing Venetian and Faux Wood Blinds in Bathtub

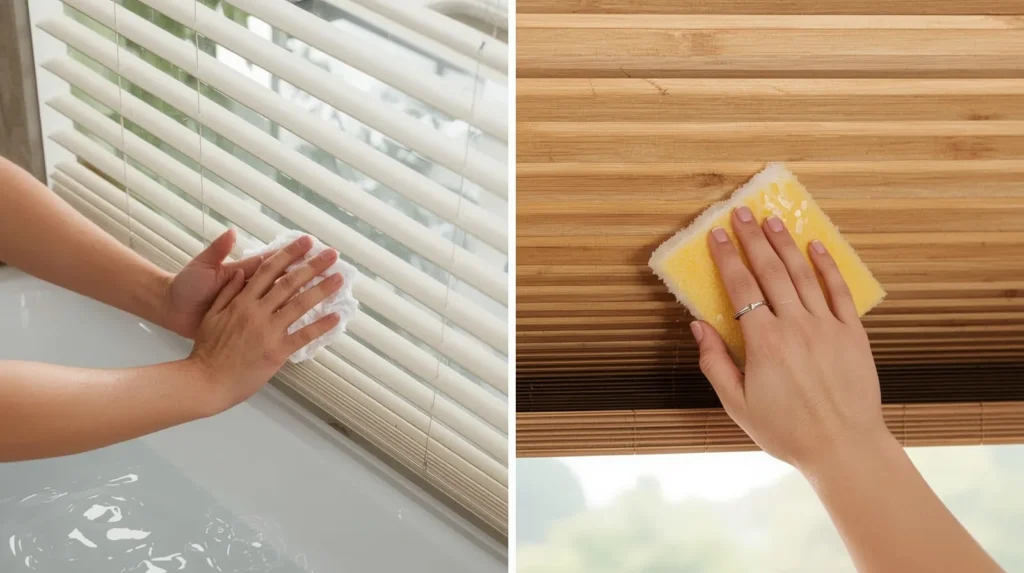
Venetian blinds and faux wood blinds also respond well to bathtub cleaning. For venetian blinds, soak them for 20 minutes, then wipe each slat carefully to avoid bending. Faux wood blinds are tougher and handle soaking well, but never use harsh chemicals that might dull their finish. Instead, mild dish soap or a baking soda mix is best. After rinsing, dry faux wood blinds completely to prevent warping. When washing venetian blinds in bathtub water, patience is key handle slats gently and let them dry naturally for the best result.

Best Way to Clean Blinds in Tub Without Causing Damage

The best way to clean blinds in tub water is to keep the process gentle. Use only warm water hot water may warp plastic or vinyl. Always use mild soap, never bleach, as strong chemicals can fade color. Don’t leave blinds soaking for too long; 20 30 minutes is enough. When rinsing, avoid high water pressure to prevent bending aluminum slats. Dry blinds fully before reattaching them, since moisture left behind can cause mildew. With these simple steps, you’ll protect the material while still getting rid of dirt and grease effectively.

Professional Advice from CV Floors & Blinds in Coachella, CA

As a trusted name in window coverings, CV Floors & Blinds has helped many homeowners with blind care. Professionals recommend deep cleaning blinds at least once or twice a year. While soaking blinds in tub water works well for vinyl, faux wood, aluminum, or mini blinds, some cases need expert service. For example, greasy kitchen blinds or blinds with fabric inserts may require special treatment. If you’re unsure about the safest method, a professional cleaning ensures your blinds last longer while staying spotless and free from harmful buildup.

Final Thoughts on How to Clean Blinds in the Tub

Learning how to clean blinds in the tub gives you a safe, budget-friendly way to refresh your window coverings. By soaking, rinsing, and drying correctly, you avoid common issues like warping or staining. Whether you’re washing vinyl, aluminum, mini, or faux wood blinds, this method works well with simple household supplies. Regular cleaning not only improves air quality but also makes rooms brighter and more welcoming. With the right care, blinds will serve you longer, keeping your home both stylish and comfortable.

Want spotless blinds without the hassle? Contact CV Floors & Blinds today for expert cleaning tips, trusted service, and quality window solutions tailored to your home.

Related Post

best tile for bathroom floor

Best Tile for Bathroom Floor, A Smart and Safe Choice

The best tile for bathroom floor is the tile that gives strong grip when wet, lasts a long time, and stays safe for daily use. The top choice for most homes is a textured porcelain tile with a good slip rating. It handles water well and stays strong for many years. This guide explains how to choose safe tiles, how slip resistance works, and how to avoid slippery porcelain tiles. It also shares simple tips so you can find a tile that is both safe and stylish. The content is written in clear language so anyone can understand it. What Makes a Bathroom Floor Tile Truly Safe and Strong A bathroom is one of the most used rooms in a home. It is where water touches the floor every single day. This is why the tile you choose must do more than look modern or match your wall color. A safe tile gives you grip when you are stepping out of the shower. It feels steady even if your feet are damp. It does not become slick when you use soap or shampoo. A strong tile also handles years of foot traffic. It does not chip easily. It does not absorb moisture. It stays firm under your feet and holds its shape. When a tile has these qualities, you can count on it for long term comfort and safety. Choosing a bathroom tile is not only about beauty. It is about choosing the tile that protects your family every day. Many homeowners do not realize how much water moves around inside a bathroom. Every shower, every bath, and every sink splash adds moisture. If a floor tile cannot handle this moisture, it will become slippery or stained. That is why bathroom tile must be designed with safety in mind. How Bathroom Floors Become Slippery and Hard to Maintain Bathroom floors become slippery for many different reasons. A very smooth tile gives very little traction. When water mixes with soap, it creates a thin layer that makes the surface even more slick. With time, tiles can also develop a worn layer that traps soap scum and body oils. This layer makes the floor feel slippery even when it is dry. Another common reason for slippery floors is poor ventilation. When humidity stays trapped inside the room, the floor remains damp longer. Damp surfaces collect dust faster. Dust mixes with moisture and creates a thin film that acts like grease on the tile. Cleaning habits also matter. Some cleaning products leave a shiny finish on tile floors. This shine may look nice, but it reduces grip. It can make tiles feel like ice when they get wet. When tiles stay wet for long hours, mold and mildew can also grow between the grout lines. Mold causes surfaces to become slimy. These problems happen slowly, and most homeowners do not notice the changes. But over months and years, the tile loses its original traction and becomes unsafe. Understanding these causes helps you choose tiles that avoid these issues from the start. The Qualities That Define the Best Tile for Bathroom Floor To choose the best tile for bathroom floor designs, think about how the tile behaves when it is wet. The top bathroom tiles perform well in four areas. They resist water. They give you traction. They are strong. They are easy to clean. Water resistance is the most important. A tile that absorbs water can swell or crack. Porcelain tiles are known for absorbing very little water. This makes them ideal for wet spaces. Grip is the second big factor. A tile with more texture gives better stability. You can feel safer on a textured tile even with soapy water present. Strength and durability matter because bathroom tiles face heavy use. They handle drops, foot pressure, and cleaning chemicals. Ease of cleaning is also important. Tiles that resist buildup stay safer because they prevent slippery layers from forming. A tile that offers all four qualities gives you a floor that works well for many years. Understanding Slip Resistance and Why It Matters Slip resistance protects your family from falls. Many homeowners think slips only happen to seniors, but everyone is at risk in a bathroom. Children run around. Adults step out of the shower quickly. Teenagers walk in with wet feet. All of this creates daily chances for slipping. Slip resistance is measured with ratings like COF. A higher COF number means the tile grips better. You do not have to study numbers. You only need to look for tiles labeled as slip resistant or non slip for bathrooms. Tiles made for wet rooms are tested for traction. They support your balance even on busy days. When you choose tiles with good slip resistance, you create a safer bathroom for your entire family. Are Porcelain Tiles Safe or Slippery for the Bathroom Space Porcelain tiles are known for strength, but not all porcelain tiles are safe. The danger comes from very shiny surfaces. Shiny porcelain can turn into slippery porcelain tiles when mixed with water. This makes them unsafe for wet spaces. However, porcelain tiles with a matte finish or textured finish offer great traction. They feel steady, even with damp feet. These textured tiles stay cool, resist stains, and look elegant. Homeowners like them because they offer both safety and beauty. Porcelain tiles also hold up well in homes with heavy foot traffic. They resist scratches and daily wear. When you choose porcelain tiles designed for wet areas, you get one of the safest and most durable flooring options. Which Tile Types Work Best for Wet and High Moisture Areas A Simple Guide to Non Slip Bathroom Floor Tiles for Everyday Use Non slip bathroom floor tiles work well because they have natural traction. They use texture, bumps, and matte finishes to give you grip. They do not rely on sticky coatings. They stay safe even with daily cleaning. People choose these tiles for practical reasons. They clean easily. They

Read More »
best carpet for high traffic areas

Best Carpet for High Traffic Areas for a Beautiful Home

The best carpet for high traffic areas is usually a low pile, dense carpet made from strong materials like nylon or high quality synthetic fibers. These carpets handle footsteps, kids, pets, and busy daily life without wearing out too fast. They stay cleaner, last longer, and keep their shape even when people walk on them every day. If you want a carpet that holds up in busy rooms, carpets with tight fibers, strong materials, and good stain resistance will give you the longest life and best comfort. What to Know Before You Buy Choosing carpet for your home should feel exciting, not stressful. Carpet can make a space warm, peaceful, and comfortable. It adds color, style, and softness to every room. But when a home has busy rooms with lots of walking, playing, and daily movement, some carpets start to look old too quickly. Families often notice flat fibers, dark pathways, stains, or fading long before they planned to replace their flooring. This happens because not all carpets are made the same. Some carpets are meant for calm rooms like guest bedrooms. Others are built for busy hallways, living rooms, stairs, and family spaces. The key to keeping your floors in good shape is choosing the right type of carpet for the amount of activity in your home. This detailed guide explains everything you need to know about finding a strong, long lasting carpet that stays beautiful even in active areas. It shares real world experience, expert advice, and clear steps so you can make the best decision for your home without confusion. Why Some Rooms Wear Down Carpet Faster Some rooms take a lot more pressure than others. Foot traffic describes how often people walk across a space. When a room has high foot traffic, the carpet fibers get stepped on constantly throughout the day. Over time the pressure from feet pushes the fibers down. Eventually they become flat, dull, and unable to bounce back. Hallways and stairs usually wear out first because they are used the most. Living rooms and family rooms also get steady traffic because families spend so much time there. Kids run, pets play, guests visit, and everyday life always moves through these areas. Another reason busy rooms wear down faster is dirt. Even clean homes deal with dust, hair, crumbs, and tiny pieces of outdoor debris. These small particles fall into the carpet and rub against the fibers. Over time this rubbing works like soft sandpaper and slowly wears the carpet down. That is why choosing the right carpet matters so much. What Makes a Carpet Truly Durable Carpet durability depends on several simple but powerful features. When these features work together, the carpet stays strong for years even in busy spaces. 1. Fiber Density Density means how tightly the fibers are packed together. High density carpet feels firm and full. When you press your fingers into it, the fibers push back. Low density carpet feels airy and soft but flattens fast. In high traffic rooms, high density always performs better. 2. Twist Level Twist level describes how tightly each fiber is twisted. Strong twist helps the carpet bounce back after footsteps. Loose twist looks messy quickly. The higher the twist level, the better the carpet handles daily use. 3. Pile Height Long fibers feel soft but crush easily. Short fibers stay strong longer. Low pile carpet is one of the best choices for heavy use because it resists matting and keeps its shape. 4. Backing Quality Backing holds the carpet together. A strong backing helps the carpet stay flat and prevents stretching or ripples. This helps keep the carpet looking newer for a longer time. 5. Stain and Soil Resistance Busy rooms always have spills and dirt. Stain resistant treatments help protect the carpet so you can clean messes before they soak deep. This keeps the carpet bright and fresh. Comparing Carpet Types for Busy Homes Carpet construction plays a big role in how long it lasts. Each type has different strengths. Loop Pile Carpet Loop pile has fibers that loop back into the backing. This creates a firm structure that stays strong. It is very popular for high traffic rooms because it resists crushing. Berber is the most well known loop pile style. It hides footprints well and performs beautifully in busy spaces. Cut Pile Carpet Cut pile has fibers that stand straight up. The softness depends on fiber length and density. Some cut pile carpets are extremely durable, especially when the fibers are short and tightly packed. These carpets combine comfort and strength for active homes. Textured Carpet Textured carpet has fibers of slightly different lengths. This helps hide footprints and keeps the carpet looking fresh. Textured carpet also works well in busy rooms because the pattern disguises early signs of wear. Patterned Carpet Patterned carpet mixes loop and cut pile styles together. This creates visual interest and helps hide daily traffic. Many families choose patterned carpet for living rooms or stairs because it gives a stylish touch while staying durable. The Best Carpet Materials for High Traffic Areas The material used to make carpet fibers is one of the biggest factors in how well it lasts. Some materials stay strong and firm, while others flatten faster. Nylon Nylon is one of the best carpet materials for active homes. It is strong, flexible, and able to bounce back after being stepped on. Nylon carpets last a long time and handle busy rooms extremely well. They also resist fading and staining when treated properly. Polyester Polyester is soft and comes in bright colors. Its stain resistance is excellent. However, it may not stay strong in very busy rooms. Modern polyester blends have improved, but nylon still leads in strength. High Quality Synthetic Blends Some synthetic carpets are designed specifically for durability. These blends combine comfort, stain resistance, and firmness. They are a good choice for families that want long life without the higher cost of premium nylon. Wool Wool is natural,

Read More »
how to fix scratches on engineered wood floors

How to Fix Scratches on Engineered Wood Floors the Smart Way

The clear answer to how to fix scratches on engineered wood floors is to clean the area, identify the scratch depth, and then use the right method, such as repair markers for light marks, filler for medium scratches, and sanding plus board replacement for deep damage. These steps help restore the floor and keep it looking fresh. Scratches happen all the time, even when you try your best to care for your floors. Engineered wood is strong, but its top layer can still mark easily. In this guide, you will learn simple and safe ways to repair the scratches you see at home. The steps are easy, the tools are simple, and you will understand what works for each type of scratch level. This blog also gives you guidance on when you can fix damage yourself and when it may be better to talk with a flooring expert. Why Scratches Appear Easily on Engineered Wood Floors Engineered wood floors look warm and natural, but the surface is often thinner than solid hardwood. The top layer is real wood, so it can still scratch when something sharp rubs across it. Pets running, chairs sliding, grit from shoes, and toys on the floor all cause small marks. Since the top wood layer is not thick, heavy sanding is usually not a good option. This is why many owners see scratches sooner than they expect. The good news is that most scratches can be fixed with simple tools, patience, and the right steps. Common Causes of Floor Scratches You May Not Notice Many scratches on engineered wood do not appear right away. They build slowly. Here are the most common causes. You may not see these scratches right away, but they add up over time. Knowing the cause helps you avoid future damage. How to Identify Light, Medium, and Deep Floor Scratches Before trying to fix floor scratches, take time to study the damage. Not all scratches are the same. There are three main types: Light scratches These are surface level marks that only affect the finish. You can see them when the light hits the floor. You cannot feel them with your finger. These are the easiest to fix. Medium scratches These marks cut into the finish and lightly touch the wood layer. You can feel them a little when you run your finger across. They need repair kits, touch up markers, or filler sticks. Deep scratches These cuts break through the finish and go into the wood layer. They look darker and may feel rough. Deep scratches often need sanding in a small spot or replacing a plank, since engineered wood has a thin top layer. Knowing the scratch type helps you choose the right method and keeps you from making the damage worse. Quick Ways to Fix Light Scratches on Engineered Wood Floors Light scratches are common and easy to fix. These scratches sit on the top coat. You can use simple items to make them blend into the rest of the floor. Step 1: Clean the area Use a soft cloth with a gentle floor cleaner. This removes dirt so you can see the scratch clearly. Step 2: Use a repair marker Repair markers match wood color well. Draw lightly over the scratch, then wipe the extra marker with a clean cloth. Always test it first on a hidden area. Step 3: Add a polish A safe wood floor polish can help blend everything and reduce the shine difference. Apply a small amount and gently buff the spot. Step 4: Check the results If the scratch still shows, apply a second layer of marker or polish. These small steps work well for most light surface marks. They also help with light scuffs and small rub lines. How to Fix Medium Floor Scratches With Repair Kits Medium scratches go a little deeper, so repair markers alone may not be enough. Here is what works best. Step 1: Clean and dry the area Dirt prevents fillers from sticking well, so start with a clean spot. Step 2: Use a wax or putty filler Most home stores sell repair kits made for engineered wood floors. Pick a filler color that matches your floor. Warm the wax slightly with your hand and press it into the scratch. If using putty, press a small amount into the scratch with a plastic tool. Step 3: Smooth the surface Use a plastic scraper to level the filler. Do not use metal tools because they can create more scratches. Step 4: Color blend the repair A touch up marker can help the filler match the floor tone. Light strokes work best. Step 5: Add a gentle top coat A small amount of finish or polish helps seal the repair. Medium scratches often disappear after these steps, and the surface feels smooth again. How to Fix Deep Scratches on Engineered Wood Floors Deep scratches are the hardest to fix because they cut past the finish and into the wood. Since engineered wood has a thin top layer, heavy sanding could remove too much wood. So you need to use safer methods. Option 1: Spot sanding Light spot sanding can help if the scratch is not too deep. Use very fine sandpaper. Sand gently in the direction of the wood grain. Stop quickly if the color changes too much. Option 2: Use wood filler Deep cuts can be filled with color matching wood filler. Apply it firmly and smooth it out. After it dries, add a touch up marker to match the floor shade. Option 3: Replace the plank If the scratch is very deep or wide, the best fix is replacing the damaged plank. This keeps the floor level and protects the rest of the structure. Because engineered wood uses a click or glue system, replacing one board may need help from someone with experience. Deep scratches look scary, but they can be restored with care and patience. When to Call CV Floor and Blinds in Coachella,

Read More »
Table of Contents