How Many Curtain Rings per Panel You Really Need

If you’re wondering how many curtain rings per panel you really need, the short answer is between 7 and 13 rings per curtain panel, depending on your curtain’s width, weight, and fabric type. A 50-inch-wide curtain usually looks best with 9 to 10 evenly spaced rings. This helps your curtains glide smoothly across the rod without bunching, sagging, or looking uneven. Knowing the right number of rings is key to achieving a balanced, professional appearance that enhances your space. Whether you’re styling a cozy living room or a modern office, following this simple rule ensures your drapes hang beautifully and move effortlessly.

The Basics of Hanging Curtains the Right Way

Hanging curtains might seem simple, but it’s one of those small details that make a huge difference in your home. The right setup changes how your windows frame light and how your space feels. When your curtains hang perfectly, they add warmth, texture, and balance to a room.

Curtain rings play a big part in this. They’re the connection between your fabric and the rod, allowing you to open and close your curtains smoothly. Using too few rings can make the curtain sag and look uneven. Using too many can make it stiff and unnatural.

Think of it like this: the rings are the “support team” that helps your curtains perform their best. Once you understand how to use them correctly, even an ordinary window can look designer-level.

Understanding Drapery Curtain Rings and Their Role

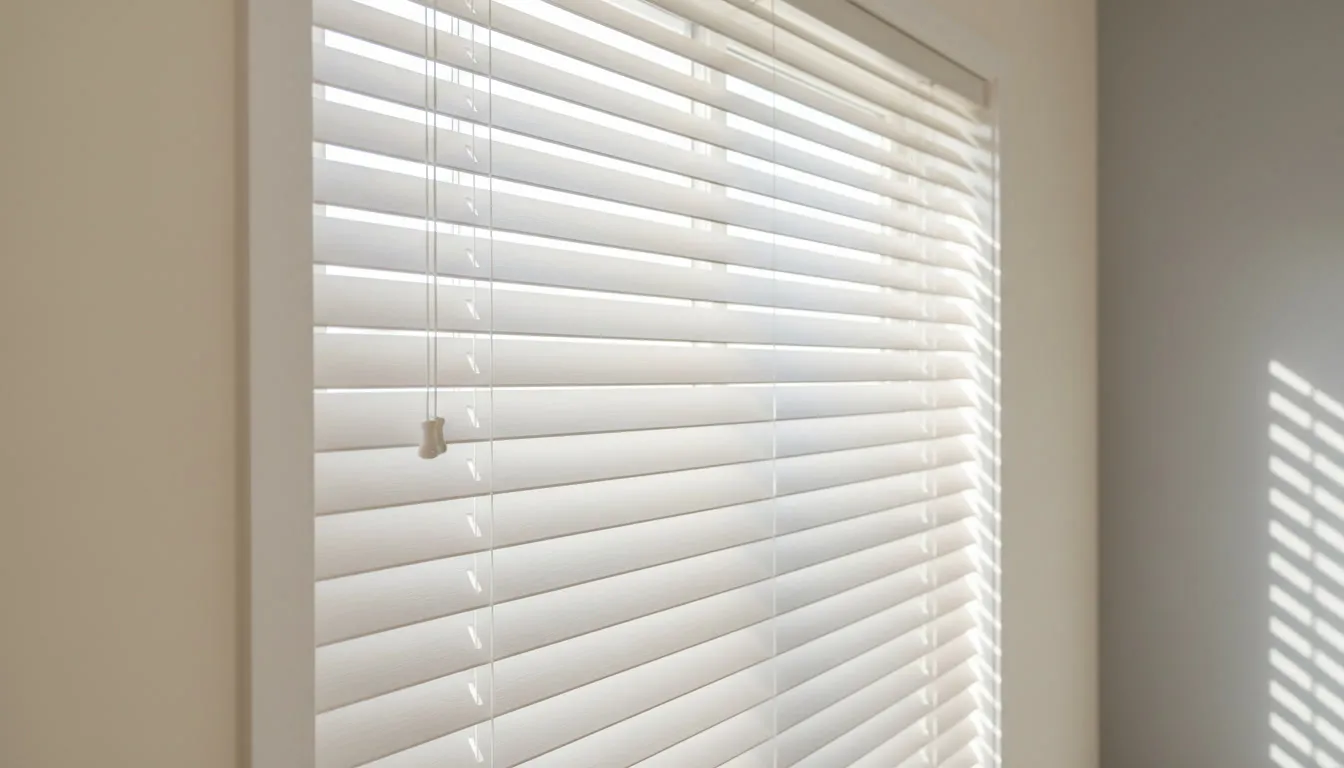
Drapery curtain rings may seem like small details, but they play a big role in how your curtains function and look. They hold the top edge of your curtain securely and allow it to glide smoothly across the rod whenever you open or close it. These rings come in different forms, such as clip rings, hook rings, and eyelet rings, each designed for a specific purpose.

Clip rings work well for casual or lightweight curtains since they can be attached directly to the fabric without any sewing. Hook rings are better suited for pleated or heavier drapes where a more structured, elegant appearance is desired. Eyelet rings, on the other hand, are often used with modern drapes that already have built-in metal grommets for a clean, simple finish.

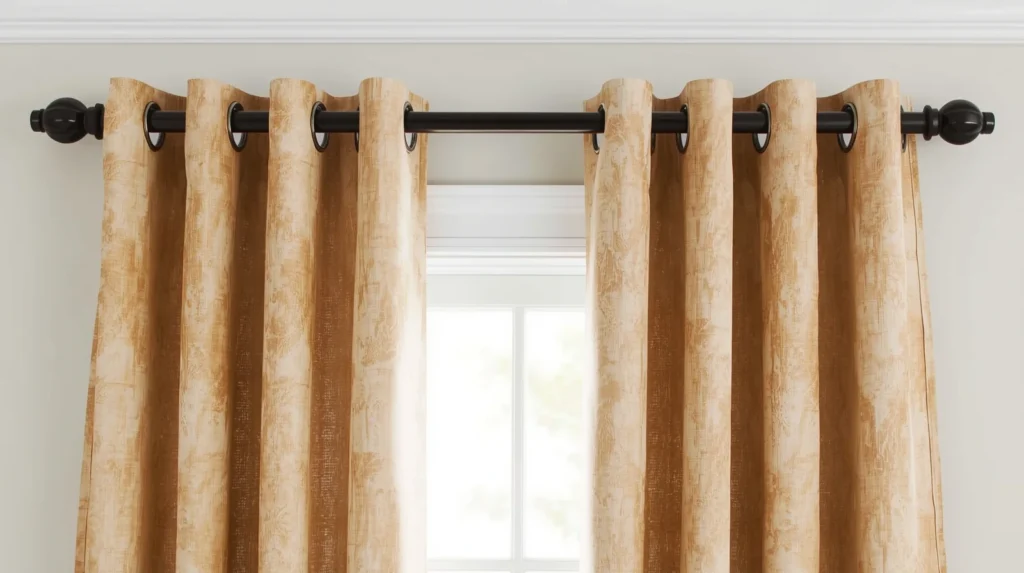
When selecting your rings, pay attention to their color and finish so they match the curtain rod. Shades like bronze, gold, or matte black can completely change how your window treatment complements the rest of the room. Beyond the aesthetic side, drapery rings also help protect your fabric by spreading its weight evenly across the rod. This reduces stress on the top seam, prevents tearing, and allows the curtains to maintain their original shape for years.

How Many Curtain Rings Per Panel Is Ideal?

 How Many Curtain Rings Per Panel Is Ideal

The ideal number of rings depends on your curtain size, fabric weight, and how you want it to look. A good general rule is one ring every 4 to 6 inches across the top of the panel.

Here’s how to calculate:

  1. Measure the full width of your curtain panel.
  2. Divide by 4 or 5 to estimate how many rings you’ll need.
  3. Always add one ring at each end of the panel to hold the corners securely.

This formula keeps folds even and the curtain hanging straight.

For example:

  • A 40-inch panel needs about 8–9 rings.
  • A 50-inch panel needs about 9–10 rings.
  • A 72-inch panel might need 11–12 rings.

If your curtain is lined or extra heavy, go toward the higher end of that range to avoid sagging.

Recommended Curtain Ring Count for Common Panel Sizes

Here’s a detailed table for quick reference when shopping or installing curtains:

Curtain WidthIdeal Number of RingsSpacing Between RingsFabric Type
40–50 inches8–10 rings5–6 inchesLight or medium fabric
60–72 inches10–12 rings5 inchesMedium to heavy
84–100 inches12–14 rings5–6 inchesHeavy drapes
Over 100 inches14–16 rings6 inchesVery thick or wide panels

These measurements help your curtain maintain consistent pleats and even movement.

Pro Tip: Don’t skip the end rings. They keep the curtain edges anchored, preventing curling or drooping.

How Far Apart Should Curtain Rings Be?

How Far Apart Should Curtain Rings Be

Even spacing is one of the most important details when hanging curtains because it creates balance and symmetry. Most professionals recommend placing each curtain ring about four to six inches apart. This distance allows the fabric to fall into gentle, natural folds without stretching too tightly or bunching unevenly.

To measure the spacing accurately, start by laying your curtain flat on a clean surface. Measure its total width, then set aside about two inches on each end to leave room for the edge rings. Divide the remaining width by the number of spaces between rings to find the correct distance. For instance, if your curtain panel is fifty inches wide and you’re using ten rings, you’ll have nine spaces between them. Dividing forty-eight by nine gives you roughly five and a third inches between each ring, which is ideal for smooth folds.

Taking the time to measure carefully before hanging your curtains ensures a professional finish. When each ring is evenly spaced, the curtains hang straight, open easily, and look clean and intentional from every angle.

How Many Curtain Rings for a 50-Inch Panel?

The most common curtain width in homes is 50 inches, and for that size, 9 to 10 curtain rings usually work perfectly.

If you use fewer than that, you’ll notice sagging between rings. If you use too many, the curtain will feel stiff and lose its natural flow. The goal is to make sure the curtain folds gently without stretching.

Here’s a simple method to get it right:

  • Start with one ring at each end.
  • Then measure and mark even spaces for the remaining rings.
  • Test the glide on your rod before finalizing the setup.

Example: For a living room curtain made of medium-weight cotton, 10 rings spaced every 5 inches will create smooth folds and allow easy opening.

Tip from CV Floor & Blinds: Always test one panel first. This lets you adjust spacing before hanging the entire set.

How Many Curtain Clips or Hooks per Curtain Panel?

If your curtains use clips or hooks instead of sewn-in rings, the same spacing rule applies. The number of curtain clips per panel should match your ring count usually 8 to 10 for a 50-inch curtain.

Here’s how to get it right:

  1. Clip the first and last clips about one inch from the edge.
  2. Spread the rest evenly between them.
  3. Hang the curtain and step back to check for even folds.

Heavier drapes, like blackout or lined curtains, may need an extra clip or hook to keep the weight evenly distributed.

Pro Tip: Don’t clip the fabric too tightly. Leave a little slack so it can slide easily without pulling.

Curtain Ring Size Chart for Perfect Fit

Choosing the correct ring size ensures your curtains glide smoothly and last longer. Rings that are too small can snag, while overly large ones can look bulky.

Use this chart as a guide:

Rod DiameterRing SizeRecommendation
1 inch1.5–2 inchesIdeal for standard rods
1.25 inch2 inchesWorks well with medium drapes
1.5 inch2.25–2.5 inchesGreat for heavy fabrics
2 inch3 inchesBest for decorative rods

If your rings are metal, make sure they have a smooth coating so they don’t scratch the rod. Wooden rings can add warmth to classic interiors, while plastic or acrylic rings are lightweight for modern spaces.

Style Guide: Pleated, Flat, or Grommet Curtains with Rings

 Pleated, Flat, or Grommet Curtains with Rings

Different curtain styles call for slightly different approaches:

  • Flat Panel Drapery: These are unpleated curtains that rely on ring spacing for their shape. 8–10 rings usually create soft, natural waves.
  • Pleated Drapes: Each pleat needs its own ring, plus one extra at each end. If your curtain has 9 pleats, use 11 rings.
  • Grommet Curtains: Already have built-in holes, so you just thread them through the rod no extra rings needed.
  • Sheer Curtains: Lightweight fabrics look best with fewer rings spaced wider apart, around every 6 inches.
  • Blackout Curtains: Heavy fabrics need more rings (every 4 inches) to keep them supported.

If you mix different curtain styles in one room, keep the ring finish consistent this ties your design together visually.

Expert Tips from CV Floor & Blinds (Coachella, CA)

At CV Floor & Blinds, we’ve had the pleasure of helping hundreds of homeowners across Coachella, CA design and install beautifully styled window treatments. Through years of hands-on experience, we’ve learned that it’s often the smallest details that create the biggest transformation in a room.

One of the key lessons we share with clients is that using an odd number of rings such as nine or eleven often gives curtains a more natural, flowing look compared to even numbers. This simple trick creates a softer rhythm in the folds that feels balanced to the eye. Before final installation, we always recommend sliding the panel across the rod to make sure it moves effortlessly. Smooth movement is essential not only for convenience but also for the curtain’s long-term performance.

Another tip we emphasize is the importance of matching finishes. When your curtain rings, rods, and hooks share the same tone or material, the entire window setup looks cohesive and refined. For heavier drapes, closer ring spacing helps maintain structure while ensuring the fabric hangs neatly. Consistency across multiple panels is equally vital. Aligning each set of rings at the same height and distance gives your windows a professional, tailored appearance that instantly elevates your home’s interior.

Our experts also suggest investing in high-quality drapery rings. While cheaper options may seem tempting, well-crafted rings glide more smoothly and last longer, saving you time and money in the long run. These subtle yet meaningful choices are what make your window treatments stand out.

Final Thoughts

Now that you know how to measure, space, and install curtain rings correctly, you’re ready to give your windows a clean, elegant look that complements your home’s style. Understanding the basics like how many rings per panel, proper spacing, and fabric weight can make a noticeable difference in both appearance and function.

In most cases, using between seven and thirteen rings per curtain panel creates the right balance of support and style. A 50-inch panel usually looks best with nine or ten rings spaced evenly every four to six inches. When you follow these simple guidelines, your curtains hang evenly, open smoothly, and instantly make your room feel more inviting.

If you’d like professional help choosing or installing the perfect drapery curtain rings, the team at CV Floor & Blinds is always here to help. We combine experience with precision to make every window look its best. From selecting the right materials to ensuring a flawless finish, our experts handle every step with care. Schedule your free in-home consultation today and discover how effortless it can be to achieve a look that feels polished, comfortable, and timeless.

Related Post

How to Clean Faux Wood Blinds Simple Tips for a Fresh Look

How to Clean Faux Wood Blinds: Simple Tips for a Fresh Look

Faux wood blinds are an affordable and stylish window treatment option for homes and offices. They look great, are easy to maintain, and offer the same aesthetic appeal as traditional wood blinds but at a lower cost. However, like any other window covering, faux wood blinds require regular cleaning to keep them looking fresh and to extend their lifespan. In this blog, we will guide you through the process of how to clean faux wood blinds effectively. Why Faux Wood Blinds Are Popular in Coachella, CA Homes Faux wood blinds have become a popular choice for many homeowners in Coachella, CA, and for good reason. These blinds offer the look and feel of real wood but are made from durable materials that are resistant to moisture and wear. They are especially beneficial for areas with high heat and humidity, like Coachella, where traditional wooden blinds may warp or fade. Faux wood blinds are easy to clean, making them a great option for homeowners looking for minimal maintenance with maximum style. At CV Floors and Blinds, we pride ourselves on providing high-quality faux wood blinds to homes in the Coachella area. Whether you’re renovating your space or installing new blinds, we have the perfect options to match your style and needs. The Best Way to Clean Faux Wood Blinds Without Damaging Them When it comes to cleaning faux wood blinds, it’s essential to take the proper steps to avoid causing damage. Using the wrong cleaning methods can lead to scratches, discoloration, or even the warping of the material. The best way to clean faux wood blinds is with a gentle touch. Here are the key steps you can follow: By following these simple steps, you can ensure that your faux wood blinds remain in excellent condition for years to come. How Do You Clean Faux Wood Blinds: The Essential Tools You’ll Need To clean faux wood blinds properly, it’s important to have the right tools at hand. You don’t need fancy gadgets, just a few everyday items will do the trick. Here’s a list of essential tools you’ll need: Having these tools ready will make the cleaning process smooth and efficient. Washing Faux Wood Blinds: A Simple Process for Perfect Results While faux wood blinds are easy to clean, there are times when they may need a more thorough cleaning, especially if there’s grime or built-up residue. Washing faux wood blinds requires a bit more effort, but the process is still relatively simple: This method works well for heavily soiled blinds but should be done occasionally to avoid excess moisture exposure. How to Clean Faux Wooden Blinds Effectively Without Harsh Chemicals If you’re concerned about using harsh chemicals on your faux wood blinds, rest assured that there are plenty of natural alternatives that can clean effectively. Here’s how you can clean faux wood blinds without resorting to harsh chemicals: These natural cleaning solutions are not only safe but also effective in cleaning your faux wood blinds. How to Clean Faux Wood Blinds That Have Yellowed or Discolored Over time, faux wood blinds may develop a yellowish tint, especially if they are exposed to sunlight or smoke. To restore the original color, follow these tips: After applying these solutions, wipe the blinds with a clean, damp cloth and dry them with a towel. Common Mistakes When Cleaning Faux Wood Blinds and How to Avoid Them Many homeowners make common mistakes when cleaning faux wood blinds. These mistakes can lead to damage or ineffective cleaning. Here are a few common errors to avoid: By avoiding these common mistakes, you can keep your faux wood blinds looking pristine. How to Clean 2-Inch Faux Wood Blinds with Precision Cleaning 2-inch faux wood blinds requires a bit more attention to detail. Here’s how you can clean them effectively: Cleaning 2-inch faux wood blinds is very similar to cleaning standard blinds, but it requires more care due to their size. The Top Benefits of Cleaning Your Faux Wood Blinds Regularly Regularly cleaning your faux wood blinds has several benefits: By keeping your blinds clean, you are ensuring that they remain a long-lasting, functional, and attractive part of your home decor. Why Choose CV Floors and Blinds for Your Faux Wood Blinds Needs in Coachella, CA At CV Floors and Blinds, we understand the importance of having quality window treatments that are both stylish and durable. We provide premium faux wood blinds that are easy to clean and maintain. If you’re in the Coachella, CA area, we’re here to help you choose the perfect blinds for your home or office. Whether you’re looking to install new faux wood blinds or need advice on cleaning them, our team at CV Floors and Blinds is dedicated to offering top-notch products and services. Contact us today to learn more!

Read More »
How Much Do Plantation Shutters Cost in Coachella

How Much Do Plantation Shutters Cost in Coachella?

If you’re considering adding a stylish and functional window treatment to your home, plantation shutters are an excellent choice. Known for their timeless beauty and durability, plantation shutters provide both privacy and control over the amount of light entering a room. But how much do plantation shutters cost? In this article, we’ll answer that question and explore the factors that influence the cost of plantation shutters. We’ll also discuss why plantation shutters are worth the investment and how you can get an estimate for your Coachella, CA home. Why Choose Plantation Shutters for Your Home? Plantation shutters are a popular choice for homeowners looking to enhance the beauty and functionality of their windows. These shutters are versatile, easy to maintain, and offer a range of benefits. One of the main reasons people opt for plantation shutters is their ability to control light and privacy. The adjustable louvers allow you to regulate the amount of sunlight that enters the room, helping to create the perfect ambiance for any time of day. They are also more durable than traditional blinds and curtains, offering long-term value. Additionally, plantation shutters add a timeless, elegant look to any room. They are available in various materials, including wood, vinyl, and composite, allowing you to choose the best option for your style and budget. Plus, plantation shutters can increase the value of your home, making them a worthwhile investment. Cost of Plantation Shutters in Coachella, CA The cost of plantation shutters can vary based on several factors, including the size of the windows, the material chosen, and the complexity of the installation. In Coachella, CA, the cost of plantation shutters typically ranges from $200 to $500 per window, with higher-end materials and custom designs pushing the price up even further. For instance, a standard set of plantation shutters for a medium-sized window could cost around $300 to $400, including both the shutters and installation. However, larger windows or specialty designs such as shutters for sliding glass doors may come with a higher price tag. It’s important to note that the cost of plantation shutters also depends on whether you choose a more affordable material like vinyl or a premium option like wood. Understanding the Average Cost of Window Shutters When shopping for window shutters, it’s helpful to understand the average cost per window. On average, window shutters typically range from $400 to $800 per window. The lower end of the spectrum is usually for standard vinyl shutters, while higher-end materials like wood or composite can cost more. The cost can also depend on the type of shutters you choose. For example, plantation shutters are typically more expensive than basic roller or Venetian blinds due to their design, durability, and ability to add value to your home. Keep in mind that custom or oversized windows will likely incur higher costs due to the specialized materials and measurements required. Are Plantation Shutters Expensive? Breaking Down the Costs Plantation shutters are often seen as a more expensive window treatment option compared to traditional blinds or curtains. However, they offer long-term value that makes them a worthwhile investment. While the initial cost may be higher, plantation shutters are durable, easy to maintain, and can last for many years with proper care. The cost of plantation shutters is influenced by several factors, including the size of your windows, the material you choose, and the complexity of the installation. For example, wood plantation shutters are generally more expensive than vinyl options due to the material’s natural beauty and durability. However, many homeowners find that the investment is worth it, as plantation shutters can add significant value to your home. Indoor Window Shutters Cost: A Detailed Breakdown Indoor window shutters are available in a range of materials, each with its own price point. Vinyl shutters tend to be the most affordable option, with prices ranging from $200 to $350 per window. Composite shutters, which combine wood and synthetic materials, typically cost between $300 and $450 per window. Wood plantation shutters are the most expensive option, with prices ranging from $400 to $500 or more per window. The cost of indoor window shutters also depends on the size of the windows and whether they are standard or custom-sized. Custom-made shutters for large windows or unique shapes will typically cost more than off-the-shelf options. Wood Plantation Shutters: Are They Worth the Price? Wood plantation shutters are often considered the gold standard for their beauty and durability. These shutters offer a classic, timeless look that adds elegance to any room. They are also highly customizable, allowing you to choose from various wood types, finishes, and colors to match your home’s decor. However, wood plantation shutters are more expensive than other materials, with prices typically ranging from $400 to $500 or more per window. While they may come with a higher initial cost, many homeowners find that the investment is worth it due to the shutters’ long lifespan, superior insulation properties, and the added value they bring to their home. Factors That Affect Plantation Shutter Installation Costs Several factors can impact the cost of plantation shutter installation. Window Size: Installation Complexity: Material Choice: How Much Does Shutter Installation Cost in Coachella? In Coachella, CA, the cost of shutter installation typically ranges from $100 to $300 per window. This price includes both the labor and materials required to install your plantation shutters. However, the cost can vary based on factors such as the size of the windows, the material chosen, and the complexity of the installation. For example, installation of wood plantation shutters may cost more than vinyl shutters due to the additional time and care required for the installation process. Additionally, custom window installations may cost more due to the specialized measurements and adjustments needed. What is a Plantation Shutter Estimate and Why Do You Need One? A plantation shutter estimate is an important tool that helps you understand the overall cost of purchasing and installing plantation shutters in your home. It typically includes the cost of

Read More »
Exterior window shade ideas

Exterior Window Shade Ideas That Improve Light and Heat Control

Exterior window shade ideas are smart ways to block strong sunlight, reduce heat, and protect your home while also improving how it looks from the outside. The best options include outdoor roller shades, solar screens, awnings, shutters, and exterior panels that stop heat before it enters your windows. Exterior window shade ideas work best because they block the sun outside the glass, which keeps rooms cooler and lowers glare. They also help protect furniture, add privacy, and give your home a clean and finished look. Why Homeowners Look for Fresh Ways to Control Sunlight and Heat Many homes get too much sunlight during certain hours of the day. When sunlight hits the windows directly, the rooms warm up quickly, and this creates discomfort. Kids may find it hard to study, families may feel overheated, and daily tasks become harder. Sun glare also makes it difficult to use screens, televisions, or computers. Most people start by trying blinds or curtains inside the house. These help a little but do not fix the main problem. Once sunlight reaches the glass and passes through, the heat enters the room and becomes trapped. This is why indoor solutions often feel too weak on very hot days. Over time, families notice that floors, furniture, and fabrics start to fade due to strong UV rays. They also notice how their energy bills climb because the air conditioner runs more than usual. These issues make many homeowners look for better outdoor shading methods. When sunlight is blocked outside the window instead of inside, the home stays cooler naturally and feels more balanced. How Exterior Window Shade Ideas Improve Comfort and Upgrade Curb Appeal Exterior window shade ideas improve comfort by stopping heat before it reaches the inside of the home. This removes a large amount of the heat that normally enters through the windows. Rooms feel cooler, and the temperature stays more stable throughout the day. Glare is reduced as well. When bright light reflects off screens, it causes eye strain and makes it difficult to focus. Exterior shading helps soften that light while still allowing natural brightness to enter safely. This makes daily activities, reading, and relaxing easier. These ideas also upgrade curb appeal. A home with well chosen exterior shading looks cared for and stylish. The shades can add contrast, texture, and personality. They create depth around the windows, and the home looks more complete and intentional. New buyers often look at window shading as a sign of good home maintenance. Understanding Outdoor Window Covering Ideas for Modern Homes Outdoor window coverings come in many shapes and styles. Some are designed to stay in place all year. Others move up and down or open and close depending on sunlight. The purpose of all of them is to control heat, block glare, add privacy, and protect windows from harsh weather. Materials used for outdoor coverings must be stronger than indoor fabrics. They are often made from weather resistant vinyl, aluminum, outdoor mesh, and treated fabrics. These materials hold up against wind, sun, rain, and dust. Modern homes often choose shade options with simple and clean lines. This trend matches many home designs today. The goal is to add comfort without overpowering the home’s natural style. Neutral colors are also very popular because they blend well with most exteriors. Outdoor coverings benefit older homes as well. They hide worn or faded window frames and add newer details that make the home look updated. Popular Exterior Window Treatments That Offer Style and Practical Shade There are many popular exterior window treatments that offer strong shade and also look attractive. Outdoor roller shades are a favorite choice because they roll down when needed and store neatly when not in use. These shades help block UV rays and heat while still letting some natural light pass through. Solar screens also provide strong sun protection. They reduce heat and glare but still allow you to see outside. Many homeowners like using them on large windows because they create a cooler environment without making the home feel dark. Awnings are another well loved option. They extend from above the window and give shade from the top down. Some awnings are fixed in place, while others can be retracted. These are great for windows that receive direct sunlight during the afternoon when heat is highest. Exterior shutters add both beauty and function. They provide shade, block light when needed, and protect windows from strong weather. Shutters come in many styles, from classic to modern, making it easy to match the home’s look. Creative Outdoor Window Shade Ideas for Better Sun Control Creative ideas make exterior shading more interesting and more effective. Layering shade types is one approach. For example, combining a solar screen with a soft awning gives extra protection without blocking all light. This layered style also creates a more decorative look. Sliding exterior panels are another creative option. These panels move side to side and allow homeowners to adjust them based on the sun’s direction. This is helpful when different windows receive sunlight at different times of the day. Outdoor fabric shades add warmth and softness to a home’s exterior. These shades use strong outdoor fabric and bring a refreshing, relaxed feel to windows. They are great for patios, large windows, or areas where you want both shade and style. Decorative trim and color matching also make shading more personalized. Homeowners can choose colors that match shutters, trim, or roofing. These small choices make outdoor shading blend in smoothly. How to Shade a Window From the Sun With Simple and Low Maintenance Options Shading a window does not need to be difficult. Some of the easiest solutions require minimal care. Fixed exterior screens are one example. These screens stay in place permanently and require very little cleaning. They filter sunlight throughout the day without needing adjustments. Roll down shades are easy to use as well. You can lower them quickly on hot days and lift them when the sun is

Read More »
Table of Contents